
I’ve heard a lot of discussion about the concept of tech debt… postponing things you should do like OS upgrades on servers… lately. Particularly on the Security Now podcast, which I get through most weeks.
Over the last 3 weeks or so, I have taken a deep dive into my tech debt and it’s leaving me with a more satisfied feeling and a few best practices. So, what have I tackled?
- Hosted Website Tech Debt
This is the biggest debt I had. I host 4 websites on 4 Digital Ocean droplets. They are very reliable, and I haven’t really had a cause to touch them. Because, if it’s not broken, why fix it? Well, it ended up broken. The content management tool I use, WordPress, had a severe bug, so I HAD to upgrade. The problem was tech debt. All 4 of my servers were on Ubuntu 18, and I needed to be on Ubuntu 24.- For my this site, I chose a “create a new server and migrate” strategy. I was doing OK with that process but started struggling to make sure I had the databases moved to deliver the content. I tried to use Digital Ocean’s help system and it was giving conflicting info. So I got Claude.ai involved and that was amazing. It helped me get migrated, look at security issues. I was totally happy and had added confidence.
- For the other 3 sites, I choose to upgrade the OS in place. That means going from 18-20-22-24. Because my versions were so old, and Digital Ocean had used custom binaries, I needed extra help. Long story short, Claude.ai helped me resolve the pointers to use the main Ubuntu distribution for the OS and mySQL, and then we rolled up and up until the sites were done.
- Under attack
While I was updating two of the sites, I found resource use was high. That was because a remote system was probing my sites, trying to login with known passwords. Claude.ai helped me there too. While I use secure passwords, I was able to add some geofencing, limiting the access to the login page to begin with. You can’t probe what you can’t access. - Stuff I built
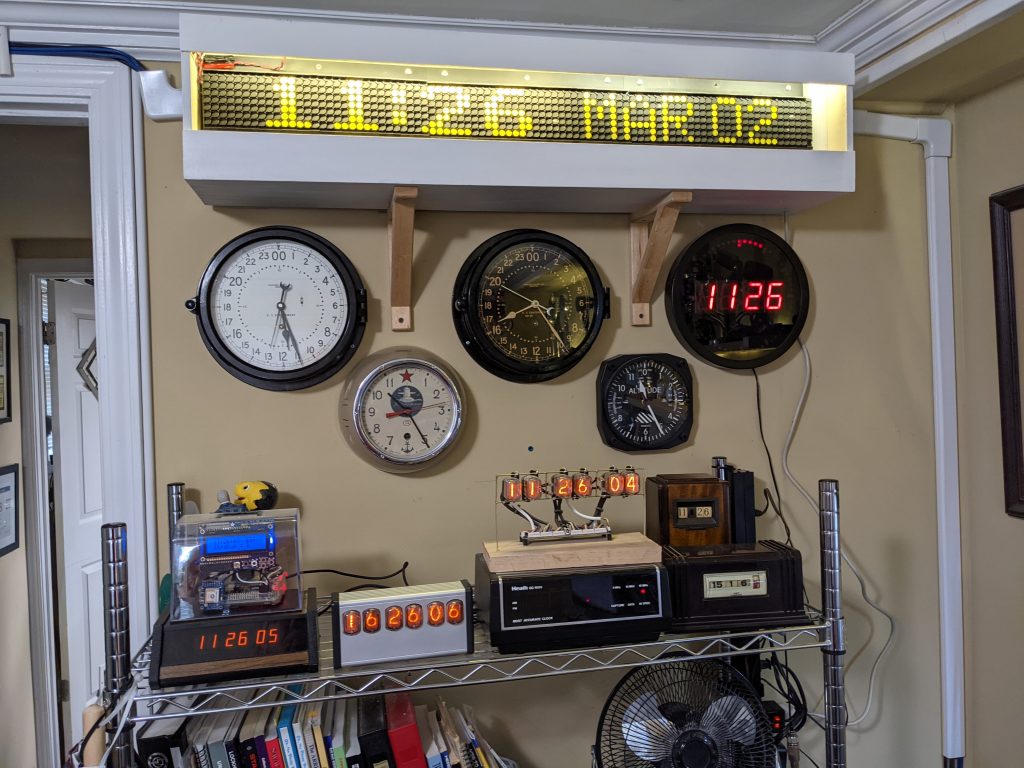
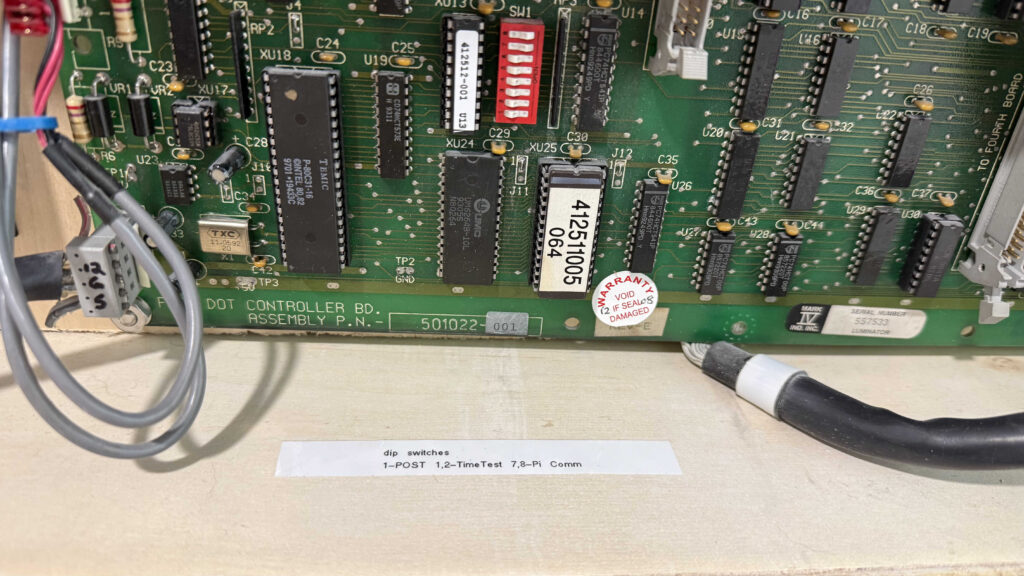
I did two big tech projects during Covid. One was building a Flip Dot Powered Clock. This was for me to enjoy. The other was a digital “Big Ben” for my mom that I was really proud of, because I had the hands moving on the display. Unfortunately, the guy who did these projects didn’t document a damn thing for future Jim. So I had to go back in and manage some things.- For the Flip Dot, it was about configuration of the equipment. It’s very dependent on dip switches for addressing. If you don’t have the switch right, the device ignores the data you sent. I didn’t write anything down, and so I didn’t have the right settings after something got flipped. Now, future Jim can easily find the settings:
On the Big Ben clock, it was more of a wholistic upgrade. I needed to make more of a vision-friendly high-contrast clock with just the digits, but retain the sound scheme of the quarterly and hourly chimes. I envisioned moving the Pi’s SD card to a new pi and enclosure and just tweaking some HTML. Because the new enclosure was very finicky about it’s handshake with the HDMI connection on the pi, there was a LOT of testing and troubleshooting. Ultimately, again thanks to some coaching from Claude.ai, I made it work.
- A nice enhancement
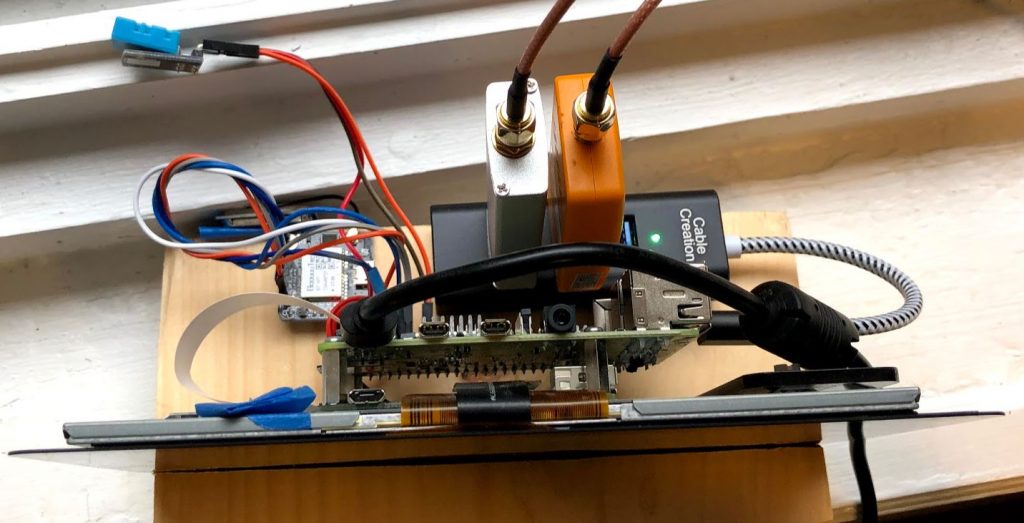
So, I know basic instructions on how to use Raspberry Pi’s and I have build some fun projects. One of them involves running an APRS igate using an SDR receiver. I built it with a little terminal screen so I could watch the data, but I was never happy with how it worked.
I used Direwolf, which comes with a start up and keep alive script, but it didn’t fit with my small screen. This was an easy lift for Claude.ai. After a little interactive discussion about what I wanted, here’s the code we came up with to run in /home/pi/.bash_profile :
if [ "$(tty)" = "/dev/tty1" ]; then
    # Wait up to 60 seconds for the APRS-IS server port to be reachable
    for i in $(seq 1 30); do
        nc -z -w2 noam.aprs2.net 14580 >/dev/null 2>&1 && break
        sleep 2
    done

    LOGFILE=/home/pi/dw-start.log

    while true; do
        echo "$(date): Starting Direwolf" >> $LOGFILE
        bash -c 'rtl_fm -f 144.39M - | direwolf -c sdr.conf -r 24000 -D 1 -'
        echo "$(date): Direwolf exited, restarting in 60 seconds" >> $LOGFILE
        sleep 60
    done
fi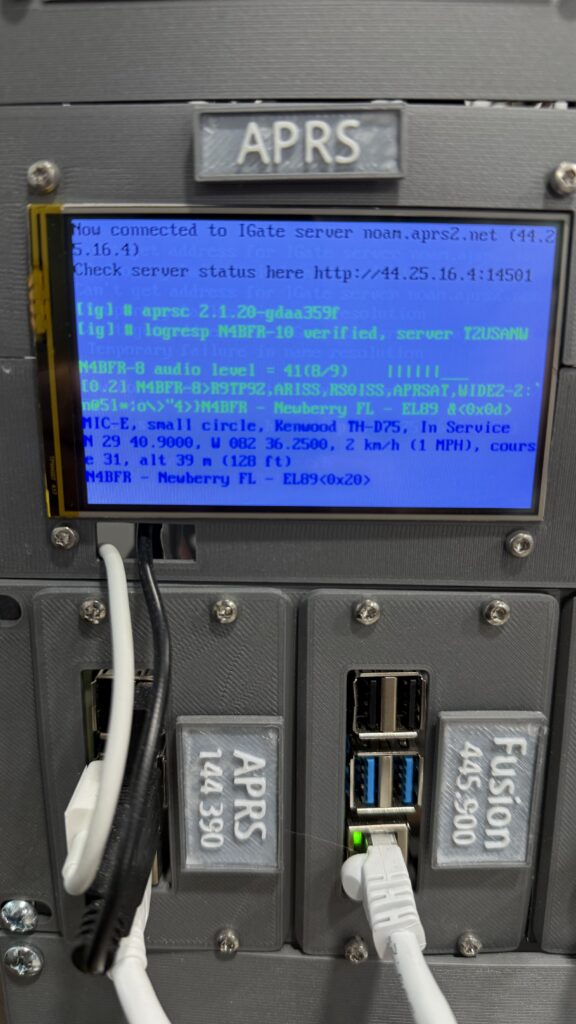
It’s not going to be for everyone, but it’s PERFECT for me. I think that’s what I like about using AI for these items. It’s bespoke to my application, and, so far, had allowed me to do the things I want with less complexity.
So, tech debt bad, AI helpful.