I’ve used Github quite a bit to source either partial or complete code for many of my Raspberry Pi projects. Github is a code sharing platform that makes it easy to get and keep software updated on devices like Raspberry Pi’s.
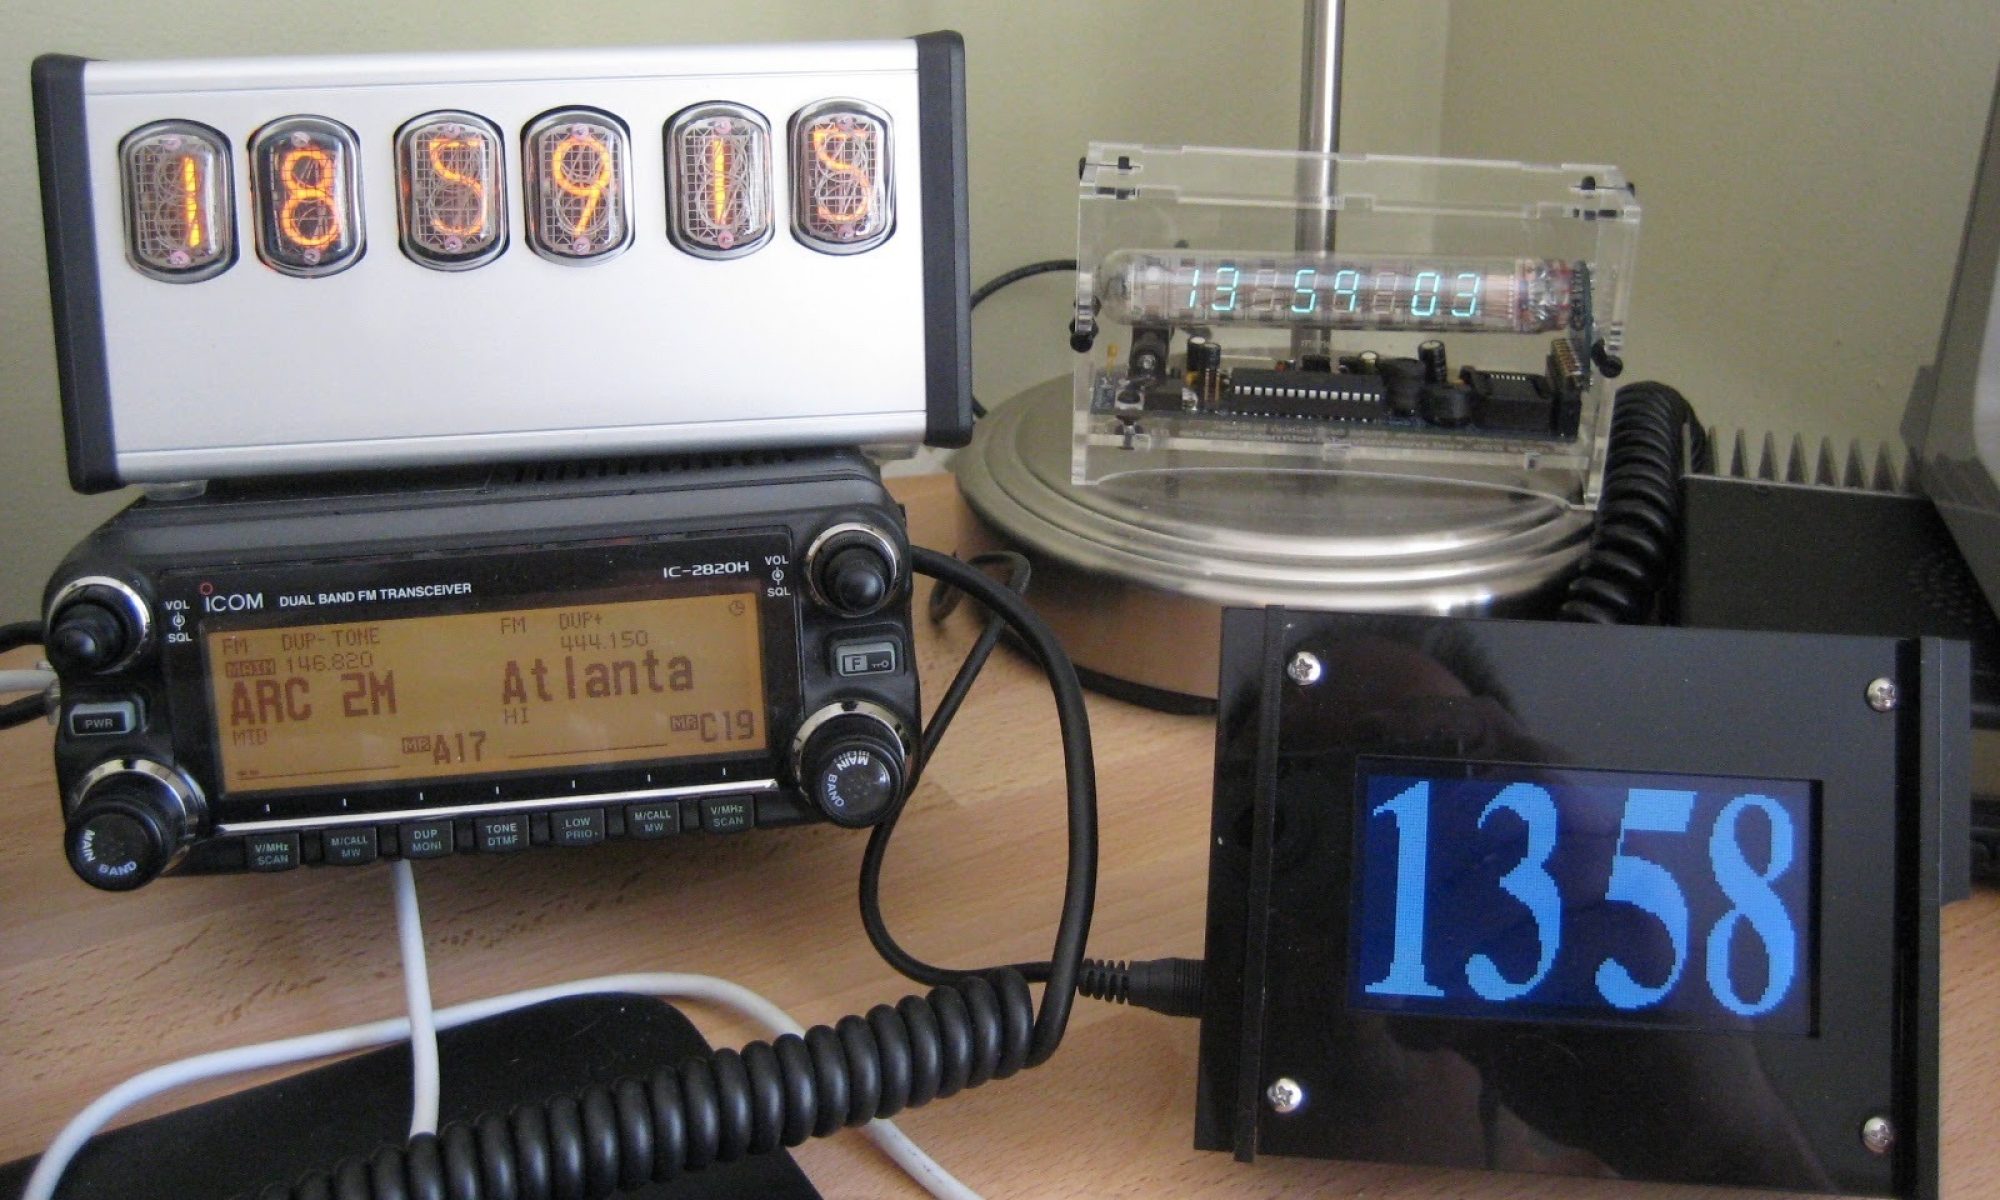
When I first created my Pi-clocks I made one with an LCD display that showed local and UTC time. You can see it in this leap second video from 2015.
Five years later that clock has been long out of commission as I do upgrades and other clock projects, but I missed having the LCD clock. So as I worked on the Chrony project I decided to rebuild one as an LCD clock. This has taken me deep into the world of Python and I am sure when someone looks at it there will be comments like “it’s clunky” or “why didn’t you do it this way.” All valid I am sure, but I made it work and even built in some error handling so I feel pretty good for a start.
Starting with the basic Chrony build, the LCD screen gets added from Adafruit. In the last 5 years they have evolved to a version of python called “Circuit Python” to drive many of their devices, so I went with this as the base code to drive the display.
sudo pip3 install adafruit-circuitpython-charlcd
As part of the new design, instead of using this to be a UTC clock (i have plenty of those), I wanted the clock to display variables. The first one I chose was to display the Stratum of the clock. This assures me if I see “Stratum: 1” that I am getting the time from the satellite data. I get that by running a CRON job to output that data to a text file, then I read that from the text file with the Python program. The CRON line that runs every 2 minutes is:
/2 * * * * chronyc tracking > /home/pi/lcdclock/tracking.txt
The second variable is the current IP address of the clock. Always helpful if you want to do some quick editing. That’s a standard python variable, so no additional libraries were needed.
The third variable is the current GPS position. To grab that data I use the gps3 python client to pick up the location of the clock. While this generally won’t change, I might take this on the road in the future to a ham fest or Field Day. There are a bunch of variables I could have pulled, but Lat/Long is just what I needed.
sudo pip3 install gps3
The last variable is a vanity card. I created a file called “msg4.txt” that can be used to display any message in the last 14 second window. Maybe in the future I might make it a YouTube follower counter.
You can grab the code from GitHub here:
https://github.com/n4bfr/lcdclock.git
Here’s how it all comes together:
I’m eager for feedback! Here’s where you can give me notes:
– The N4BFR Vision YouTube Channel
– My Facebook Page: https://www.facebook.com/N4BFRVision
– My Twitter: https://twitter.com/N4BFR_Vision

