My Raspberry Pi version of the Big Ben Clock

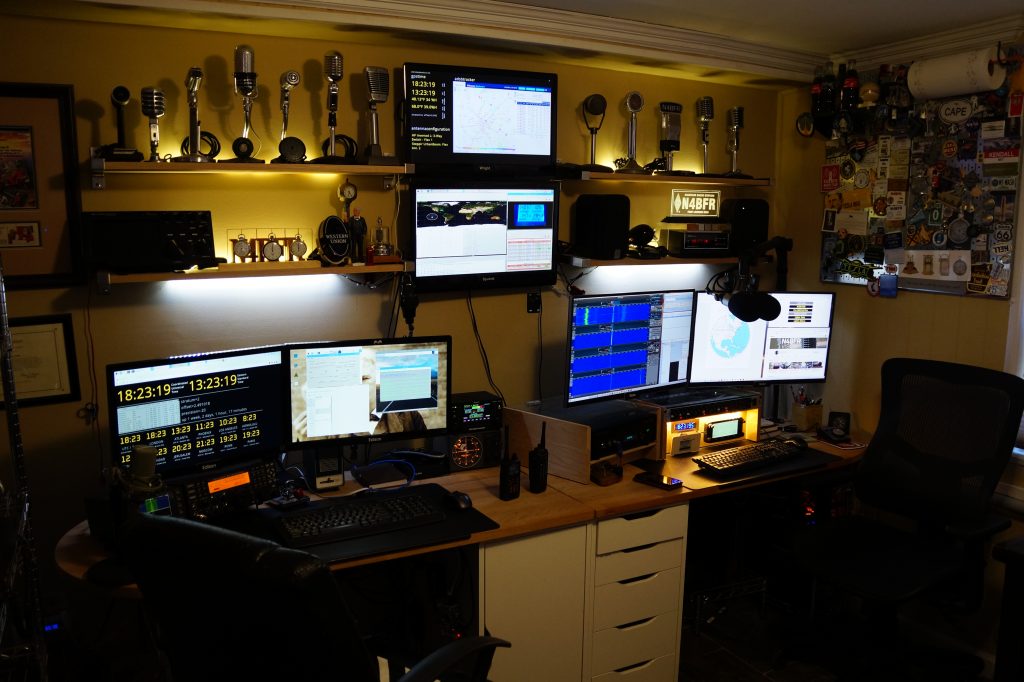
Last winter, early post retirement, I was tinkering around with one of my many clocks one day and added the chimes of Big Ben to it. Whenever I would visit my grandparents growing up, I would hear their clock that struck the Windsor Chimes and I always thought that would be a fun project.

This was fairly straightforward, I grabbed some sound files from the UK Parliament website and one other source for the 45 minute chime, and did a little editing. Work done implemented via CRON in a couple of hours, fast forward on to other things.

A few months later and I am on the phone with my mother and she hears the chimes in the background. She starts reminiscing about the sounds and her parents clock and I agree to make something for her.

This video documents the major elements of the build but here’s the parts list:

– Raspberry Pi Model 3 B with Raspberry Pi Touch Screen – I have had good luck with Canakit and Adafruit if you are looking for sources.
Basic USB Powered Speakers
Micro USB Power Cable with switch
16 GB SanDisk Class 10 Micro SD Card
– 1/4 inch Birch Veneer Plywood
– Gloss White Spray Paint

The Software Build

I had all the sound files to go on from my build into my exciting digital clock, so no additional work done there. One tricky bit was to get the hourly chime to trigger at about 59:40 after the hour so the big ben bell would start striking the hour right at the top of the minute. Since CRON works on minutes, I solved that by making a 59 second file. So the file starts at 59 after but plays a silent section for the first 40 seconds before the chime.

How the hourly Big Ben bell plays: CRON is programmed at xx:59 to trigger a shell script that first plays the chimes, this is the file mentioned above. It then triggers the Big Ben bell sound, and loops the appropriate number of times for each hour. Here’s an example of the code for 9 o’clock. There are 12 files, 1 for each hour.

#!/bin/bash
#export XDG_RUNTIME_DIR="/run/user/1000"
mplayer -really-quiet "/home/pi/chime/h59.mp3" -volume 100
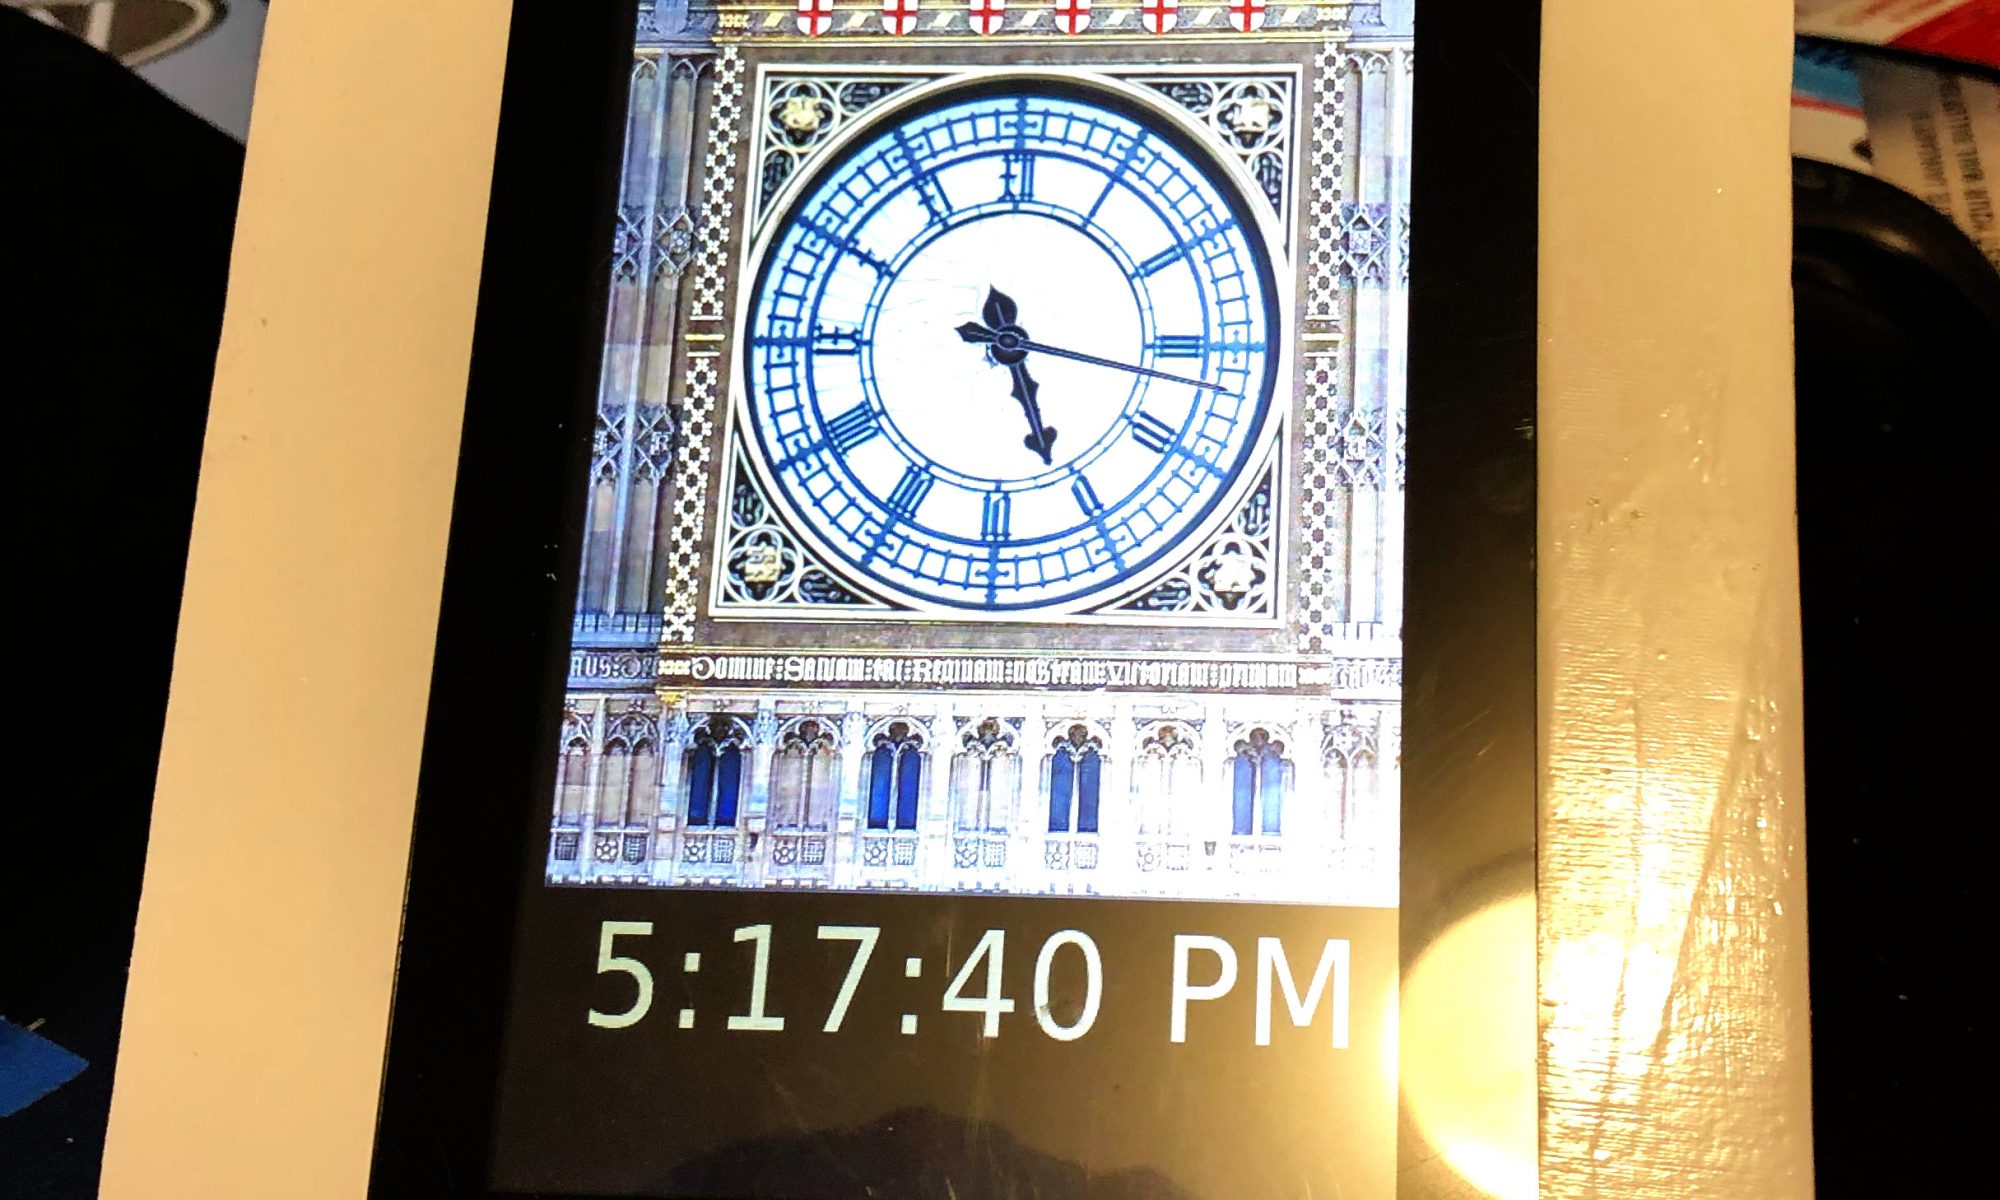
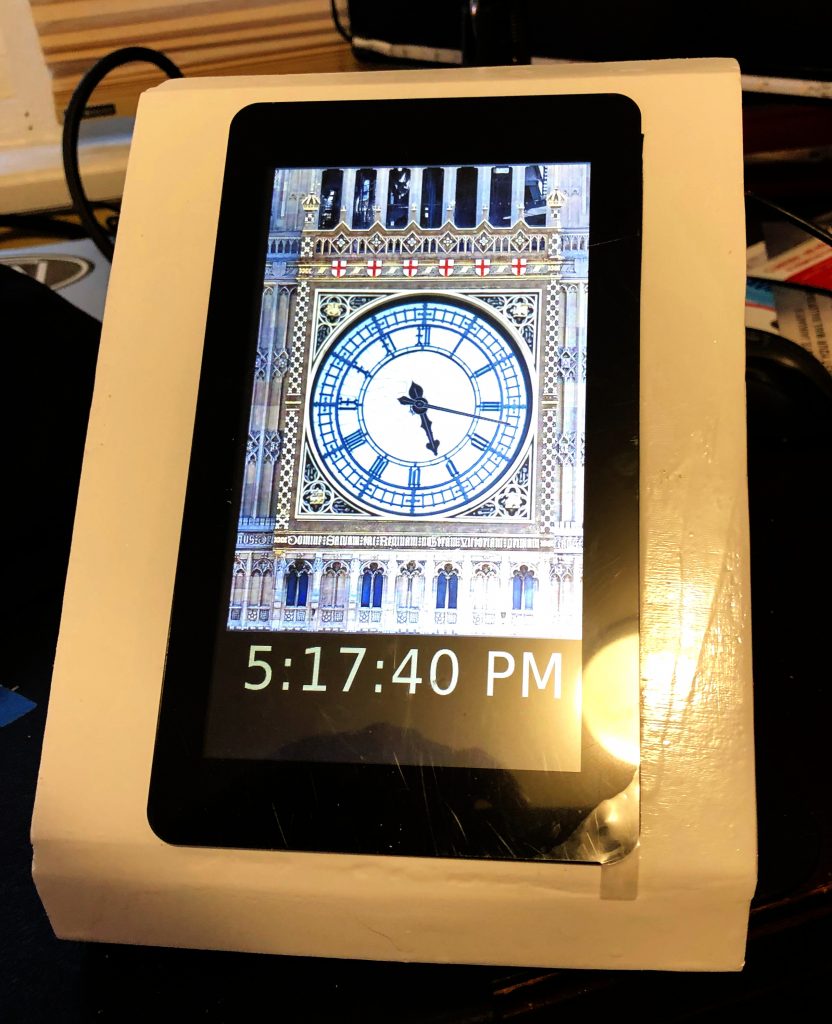
mplayer -really-quiet "/home/pi/chime/bong.mp3" -loop 9 -volume 100

A couple of new skills for me were achieved on this project. The first was working with JavaScript clock elements for an analog clock. This came together by adding the face of the Great Clock as a background image, editing the photo for size and removing the hands from the face. I then found some similar looking clock hands and did a JavaScript analog clock overlay via HTML. Adjusting the pivot points for the hands took some time, they would drift around the clock face until set just right.

The other element to this was hardening it so it was hands off for mom. With her being 1,000 miles away, I couldn’t do a local install so it had to be right. I had her send me her WiFi info so I could pre-program it on the card. I chose USB powered speakers with an on-cord volume control so she could just lift the touch screen off the case to adjust. Also added a “kill switch” to the back for easy shut down. Finally I included a backup USB card in the case incase the current one is corrupted and I keep an image on my NAS as well if needed.

I did not put a RTC in the Pi. Partially because some of the GPIO ports I wanted we used by the Touch Screen and partly because I had the clock programmed to get NTP time via WiFi so there would be no updating needed.
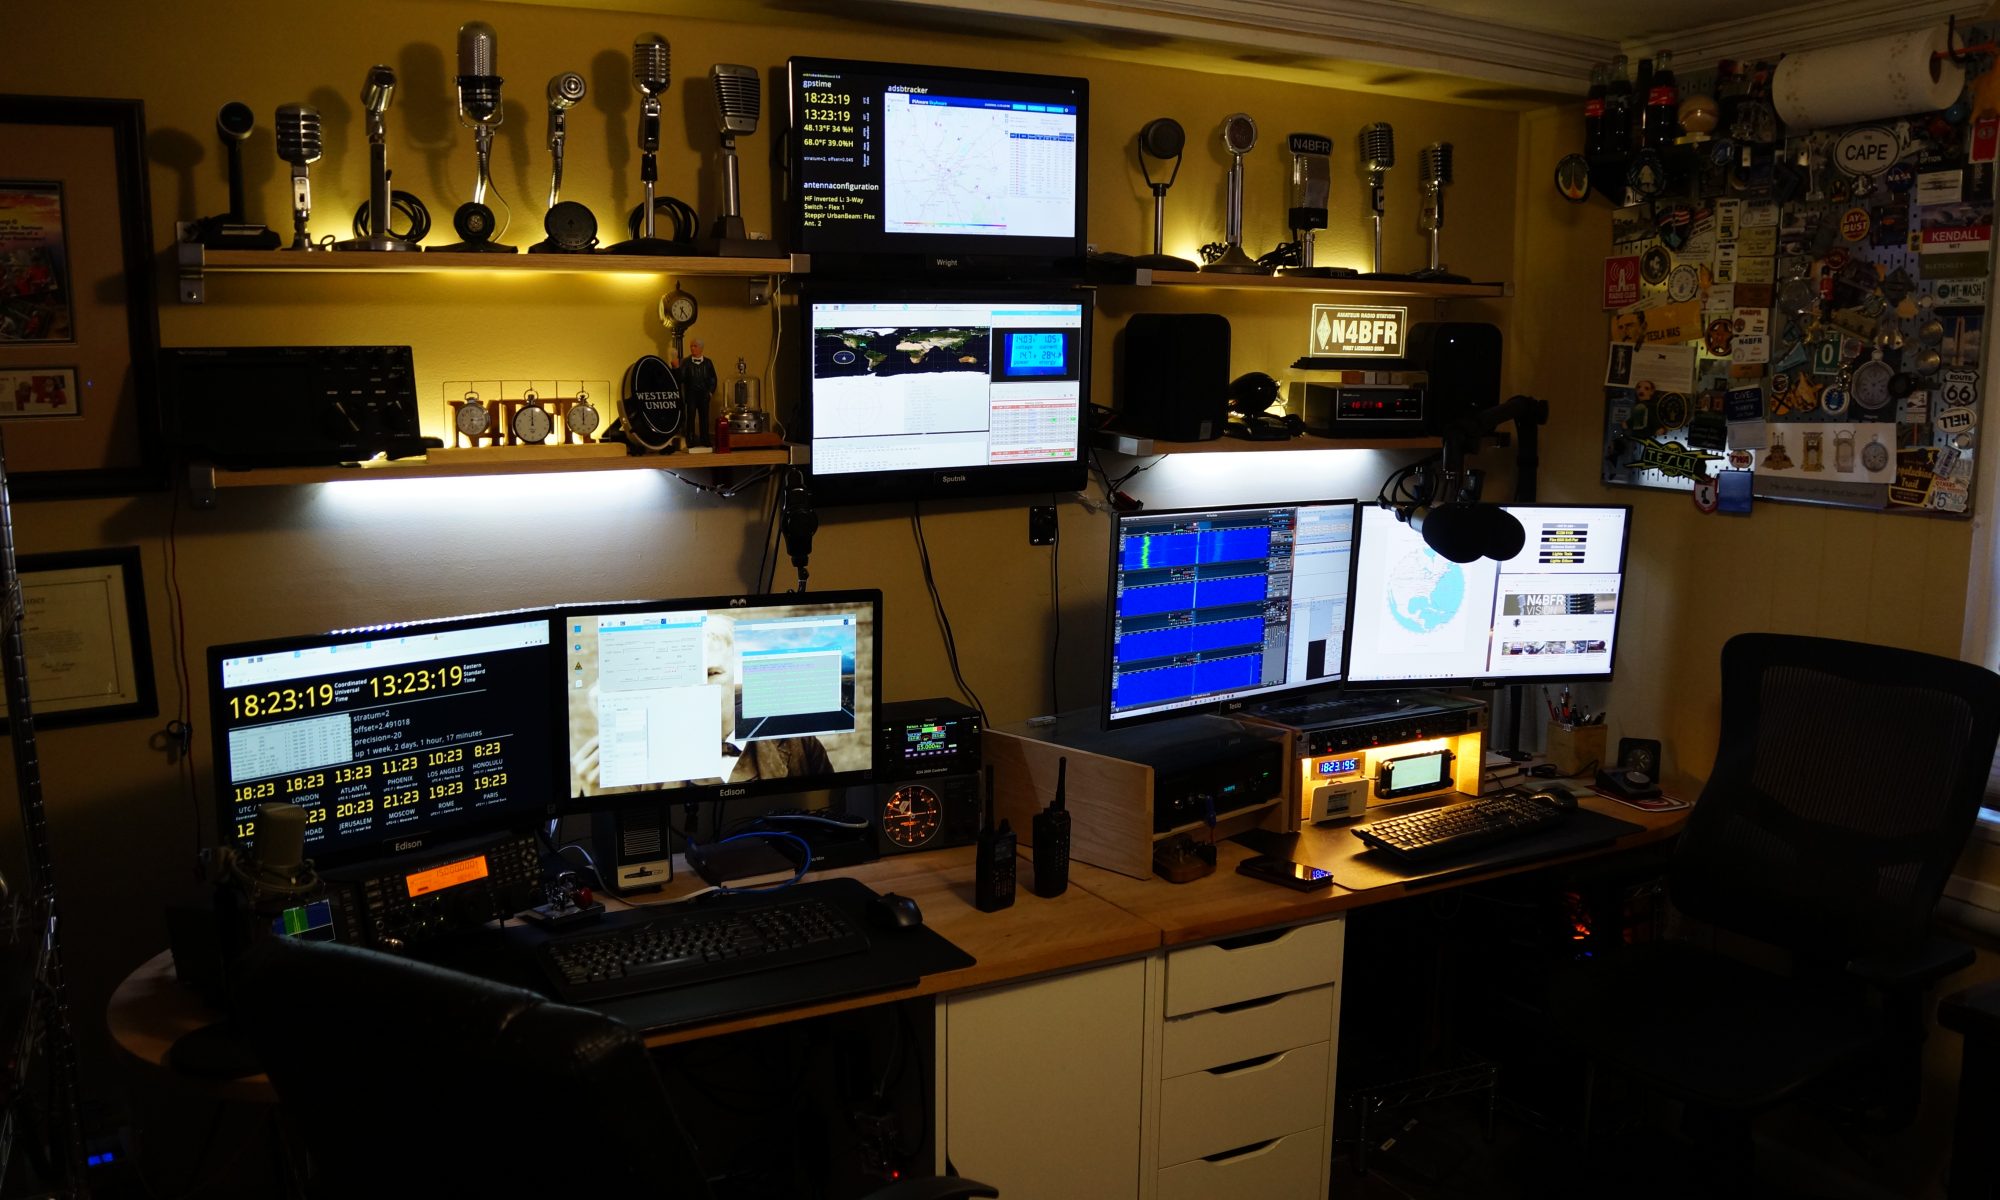
The Hardware Build

I started with the standard elements I knew the Raspberry Pi 3B+. I chose the B+ because I didn’t need the horsepower of a Pi 4 for a basic display and I had one I had recently swapped out for a Pi 4 on another project. I used the 16 GB Class 10 MicroSD cards in all my Pi projects. They rarely corrupt for me when powered correctly, they offer enough space to power most projects I do, and the are small enough to back up on my NAS without completely killing storage.

I’ve used the Pi Touch Screen in a couple of other projects and it’s very easy to set up and control the display natively. In most cases I also use a commercial Pi Touch Screen stand however in this case I wanted to hide the electronics and let the clock be the focal point.

I tried to build a simple box that would hold the Pi, Screen and Speakers and I accomplished it, but I might do it differently in the future. I assembled the 4 structural elements first, the 2 sides, back and the bottom. Small birch strips held the front out from the back of the box to provide a little extra room.

On the first attempt, I made the face frame from a single piece of plywood cut in 2, so I could notch out the hole to mount the touch screen. I wasn’t really happy with the fit or the structural integrity of that, so I started with another single piece, made a small slat through which I could cut a hole for the screen with my band saw and then used putty to seal the small gap, which worked much better.

Several other holes in the box to allow for air flow, speaker audio to escape and power. I was going to put some grommets on the rough wooden holes I cut in the back but I had to give that up for time so I could get it to Mom by Christmas.

Great news is that it arrived on time and worked perfectly. We plugged it in about 10 minutes to one and by 12:59 it had synced up with the NTP server for a real time update and was playing it’s chimes.

Before it comes up

I intentionally have not packaged this all up as a GitHub project or some other repository. I don’t own the rights to all the photos or sound files. Hopefully your build will use all the open source stuff!

Other questions on my build? Contact me on Social Media…

– Facebook: facebook.com/N4BFRVision
– Twitter: @N4BFRVision
– Reddit: u/N4BFR

I was not paid in any way for this build or post. Some of the links in this post lead to shopping sites, however I make no commission. If this post helped or inspired you, consider dropping something in my tip jar.

Honey can you clean my keyboard?

Sure! Here’s the before.

All the keys get a bath.

Some assembly will be required.

All 104+ keys must be returned to their correct spots.

Questions on this or any other post? Contact me on Social Media…

– Facebook: facebook.com/N4BFRVision
– Twitter: @N4BFRVision
– Reddit: u/N4BFR

Georgia COVID-19 – 500,000 Case Milestone

On Sunday, December 6 Georgia passed 500,000 COVID-19 cases among it’s citizens. In this YouTube video I break down where we are as a state and make some suggestions on how we can improve going forward.
There were many charts in this presentation, I’m including them below with some notes for people who want the additional detail.

For details on these charts see the latest thread in /r/CoronavirusGA on Reddit.

Over the last 60 days more than 30% of our new cases are being diagnosed via the Antigen or “Rapid” test in Georgia but the state has not provided the daily # of those tests given, making it difficult to see severity.
Based on broad estimates, about 1 in 8 Georgians may have had COVID-19 or have an active case today. This is likely a conservative estimate as Covid19-Projections.com says the range is between 11 and 25% with their estimate at 17% or closer to 1 in 6 Georgians.
We are now very much on a similar path (Red line) from July/Aug so far. (Blue line) If we flatten the curve now, we’ll see about 110,000 more cases by year end (purple line). If we think growth continues (tan line based on Healthcaredata.org estimates, we could get to a point of 7,500 cases a day by January, which would see days over 200,000 cases before year end.
It’s no myth. COVID 19 is multiple times deadlier than Influenza or Car Accidents.

The N4BFR Response to a “Show Us Your Ham Shack” Request

N4BFR “Tech Center” Ham Shack on December 2, 2020

For their next Zoom meeting, the Atlanta Radio Club is having a “show us your shack” session so I thought I would use this time to share mine along with some detail on what’s there. For ease I have numbered many items and linked to more information where I can.


Let’s start from the top left:
(1) Photo & Certificate: The photo is the cover of QST Magazine from August 2011 and a copy below of the short article and a photo from the Coca-Cola 125th Special Event Station the Atlanta Radio Club put on. The certificate is my Volunteer Examiner certification, it lets me be part of a testing team for new ham radio licenses issued by the FCC.

(2) Part of my microphone collection, along with a couple of other odds and ends. (2a) is the Heil Sound Classic Microphone which I added the call letters to in this YouTube video. (2b) is the Shure 55SH which inspired my N4BFR Vision logo.

(3) is the brass and wooden Watch Stand I made back in July. Next to it is an old Western Union sounder that would summon someone to your shop to pick up a telegram.

(4a & b) are JBL Control 2P speakers. I’ve had these 2 years now and I really recommend them, they sound great. Not shown, but for PC audio I use the Schiit Modi 3 DAC and I can really tell the difference a better Digital to Audio converter makes.

(5) is my lighted call-sign sign I bought to celebrate 10+ years in Amateur Radio. It’s made by Gifts4Hams.com which does a lot of very nice laser engraving. I have a QSL card chest from them as well. Under the sign is the Heath GC-1000 “Most Accurate Clock” which was part of my 24 Hours of Clocks YouTube experiment. Between that and the speaker is a Ducati desk mic I found at an estate sale.

(6) is more of a memory wall than anything else. The panels are by Wall Control and I liked them so much I ended up redoing my workbench with them as well.

(7) is one of Ham Radio stations I have in the room. When I designed this 8+ years ago this was set up to be a contest shack that we could run Morse and Voice in at the same time and we even worked a third station in for digital. This station is named “Edison”. The radio is an Elecraft K3 with a Panadapter. This station uses a Raspberry Pi 4 4GB for logging, digital modes, and just about anything I need.

Showing on the Edison monitors is my dashboard for all the Raspberry Pi clocks (like this one powered by a Pi Zero W and GPS board similar to this one. ) – it also shows some international clocks I did via HTML. On the right monitor is the control window for my DV Access Point Dongle for a home DSTAR Hotspot and the control window for my APRS IGate powered by a Yaesu FTM-100, A Rigblaster Plug & Play and a Raspberry Pi 3.

(8) is a Tivo Mini, I can repurpose one of the Edison monitors for TV and run the audio through the JBL speakers for watching news and weather.

(9) are antenna controllers. On top is the SteppIR SDA2000 Controller for my SteppIR Urban Beam antenna, and below it is a Yaesu G450A rotor controller that I put an add-on board in for control from my PC.

(10) Are the Wright and Sputnik monitors where I monitor things of interest. Wright is on the top and I think of these two as a dashboard, it shows Local and UTC time, temperature inside and at KPDK, my ADSB receiver so I can track planes in the neighborhood and I manually keep antenna configuration displayed. On the bottom is Sputnik which tracks the International Space Station via a program called GPredict. Since my 70 Amp Astron 12 Volt power supply is not where I can see it, I use a Raspberry Pi Zero W as a Web Cam to see the status dynamically. I also keep a text log of states I need to complete my ARRL Worked All States awards and the web interface for my PiStar hotspot which gives me DMR access. Wright and Sputnik are powered by separate Raspberry Pi 3’s in Kiosk mode.

(11) My handhelds for DStar and DMR. Currently using a Kenwood D74A for DStar and APRS, and a used Motorola XPR6550 for DMR.

(12) starts the big “Tesla” work station where I spend a lot of my time. I have gone through different monitors but I expect these LG 27UD68P 4K HDR monitors to last me a while. Not shown but they are powered by an ASUS ROG Gaming PC I picked up a few years ago.

(13) is my Flex Radio 6500 HF Radio. This is a terrific radio, a big step up over the Elecraft K3 (which is a wonderful radio in it’s own right). 4 tuners, covers DC through 6 meters, plenty of expandability and integration. I also have the (13a) Flex Radio Maestro for listening and operating around the house or the neighborhood via Wifi. I am really glad I got on this system early on. I am thinking of upgrading to a 6700 for even a few more features, but I haven’t pulled the trigger yet.

(14) For VHF / UHF and D-Star I have the ICOM ID-5100 radio, which I liked so much I bought 2. One for the shack and one for the car so I don’t have to learn 2 different radios and I can share programming in-between them with SD Memory cards.

(15) Mixes 6 different audio sources including the radios and PC plus and Alexa and the TV. It’s the Behringer Eurorack Pro and it’s just what I need. I tried a fancier PC controlled mixer for about 6 months and for simplicity of being able to reach up and turn the knobs or mute something quickly, it can’t be beat. By the way, the Flex and Mixer are mounted in 2 wooden stands I custom made. Just below the mixer is a 7-Segment clock I made with a Raspberry Pi (are you getting a theme here?). Under that is an eInk display I use to track when future SpaceX launches are. Yes that is powered by a Pi as well.

I think that wraps it up. I would love to get questions on any of this or have discussions or even give support. Check me out on Social Media at https://www.facebook.com/N4BFRVision or https://twitter.com/N4BFR_vision.


Disclosure: All of the items above were chosen by me and comments are my personal opinion, I received no special discounts or materials. Some of the links above go to Amazon.com. If you purchase through those links I may receive a commission.

Cat Supervised Audio Video Receiver Install

I didn’t realize I needed as much help as I did, but Oscar and Felix came by and made sure I did this install correctly.

If you are interested in what parts I used, here are Amazon links to the equipment:

Sony STR_DTN7200 Surround Sound Home Theater AV Receiver: https://amzn.to/3q6oXLB
Monoprice 5.1 Channel Home Theater Speakers: https://amzn.to/3fAxQbo
Amazon Basics 16 Gauge Stereo Speaker Wire: https://amzn.to/2JdCXCj
Monoprice Banana Plugs: https://amzn.to/3fKbB2H
Monoprice Premium HDMI Cable: https://amzn.to/2HEi9mQ

Adding these next for the rear channel speakers:
Monoprice Speaker Stands: https://amzn.to/3fFGWmY

Just because you saw it on the table:
Atlas Obscura Book – Great for Road Trips: https://amzn.to/3fFGWmY

Disclosure: I was not compensated in any way to produce the video or select the product shown. I will receive commission should you purchase through the links above.

Let’s have a Happy Week

I’ve just had it with every ad on TV or streaming telling me how to vote, how the administration is handling the pandemic and just general tired of being down. So I’ve declared it “Happy Week” and I’m posting 2 songs a day to pick things up.

Wednesday

Tuesday

Monday

Sunday

The Russian Submarine Clock

During the Blue Ridge Parkway road trip last year I found this mechanical clock with a Russian Submarine design right down to the CCCP in the lower right corner. When I picked it up, it was working OK but seemed to run down quickly until it stopped. I took it in to Bowers Watch and Clock Repair in Atlanta and they ended up restoring it to full functionality for about half of what the original estimate was.

Great, but the fascinating part of the story was talking to the senior Mr. Bowers (it’s a father and son business) who told me that, “no Russian captain would have that poor quality clock on their ship.” He went on to tell me these were made for the tourist trade. Fair enough.

Mr. Bowers went on to tell me about the Ansonia Clock Company, which was started not far from where I grew up in Connecticut, though about 100 years earlier than when I lived there. Eventually Ansonia was sold to Amtorg Trading which moved the machine shop to Russia. According to Mr. Bowers, “one lathe operator said they took everything from the floorboards on up. When they started the steam boiler in Moscow it still had American water in the tank. The lathe had the same piece in it and the trash in the trash can was the same.” Quite a statement! (Note, I typed that quote from memory so there may be a little paraphrasing in it.)

So, is it real or repro? Probably 70’s repro would be my guess judging by some other blog posts. If you want one new, here’s one https://www.russian-watches.info/shop/vostok-watches/russian-vostok-ship-marine-8-days-clock-5-chm-submarine/ for about $300. Note on the dial between the 5 and 6 digit mine cays B CCCP, while the one I linked says POCCHH. I think this clock is likely an early clock that was actually on a ship. Something to watch for in future shopping trips.

COVID-19 Video Updates

Since March I have been publishing daily graphical updates to Facebook and Reddit’s /r/coronavirusGA subreddit. The folks on Reddit requested that I also provide this update in video format, so I started this week. Follow the link above to find the playlist.

ASMR Experiment

There’s a trend that has been going on for a few years called ASMR, which is about creating a tingling sensation from certain audio and video impulses. (Let Wikipedia explain it!)

Since I was on the road last week on a short social distance trip from the cats, I thought I would experiment with creating an ASMR video. Here’s 15 minutes of the waterfall at Dismals Canyon, Alabama.