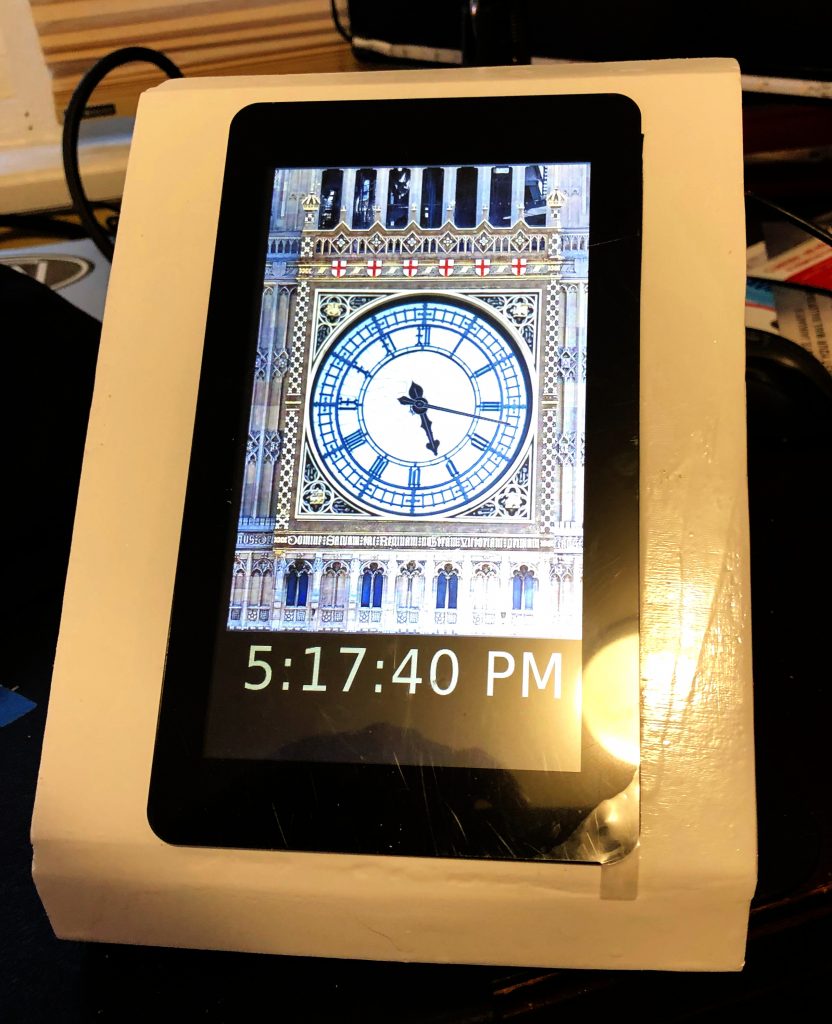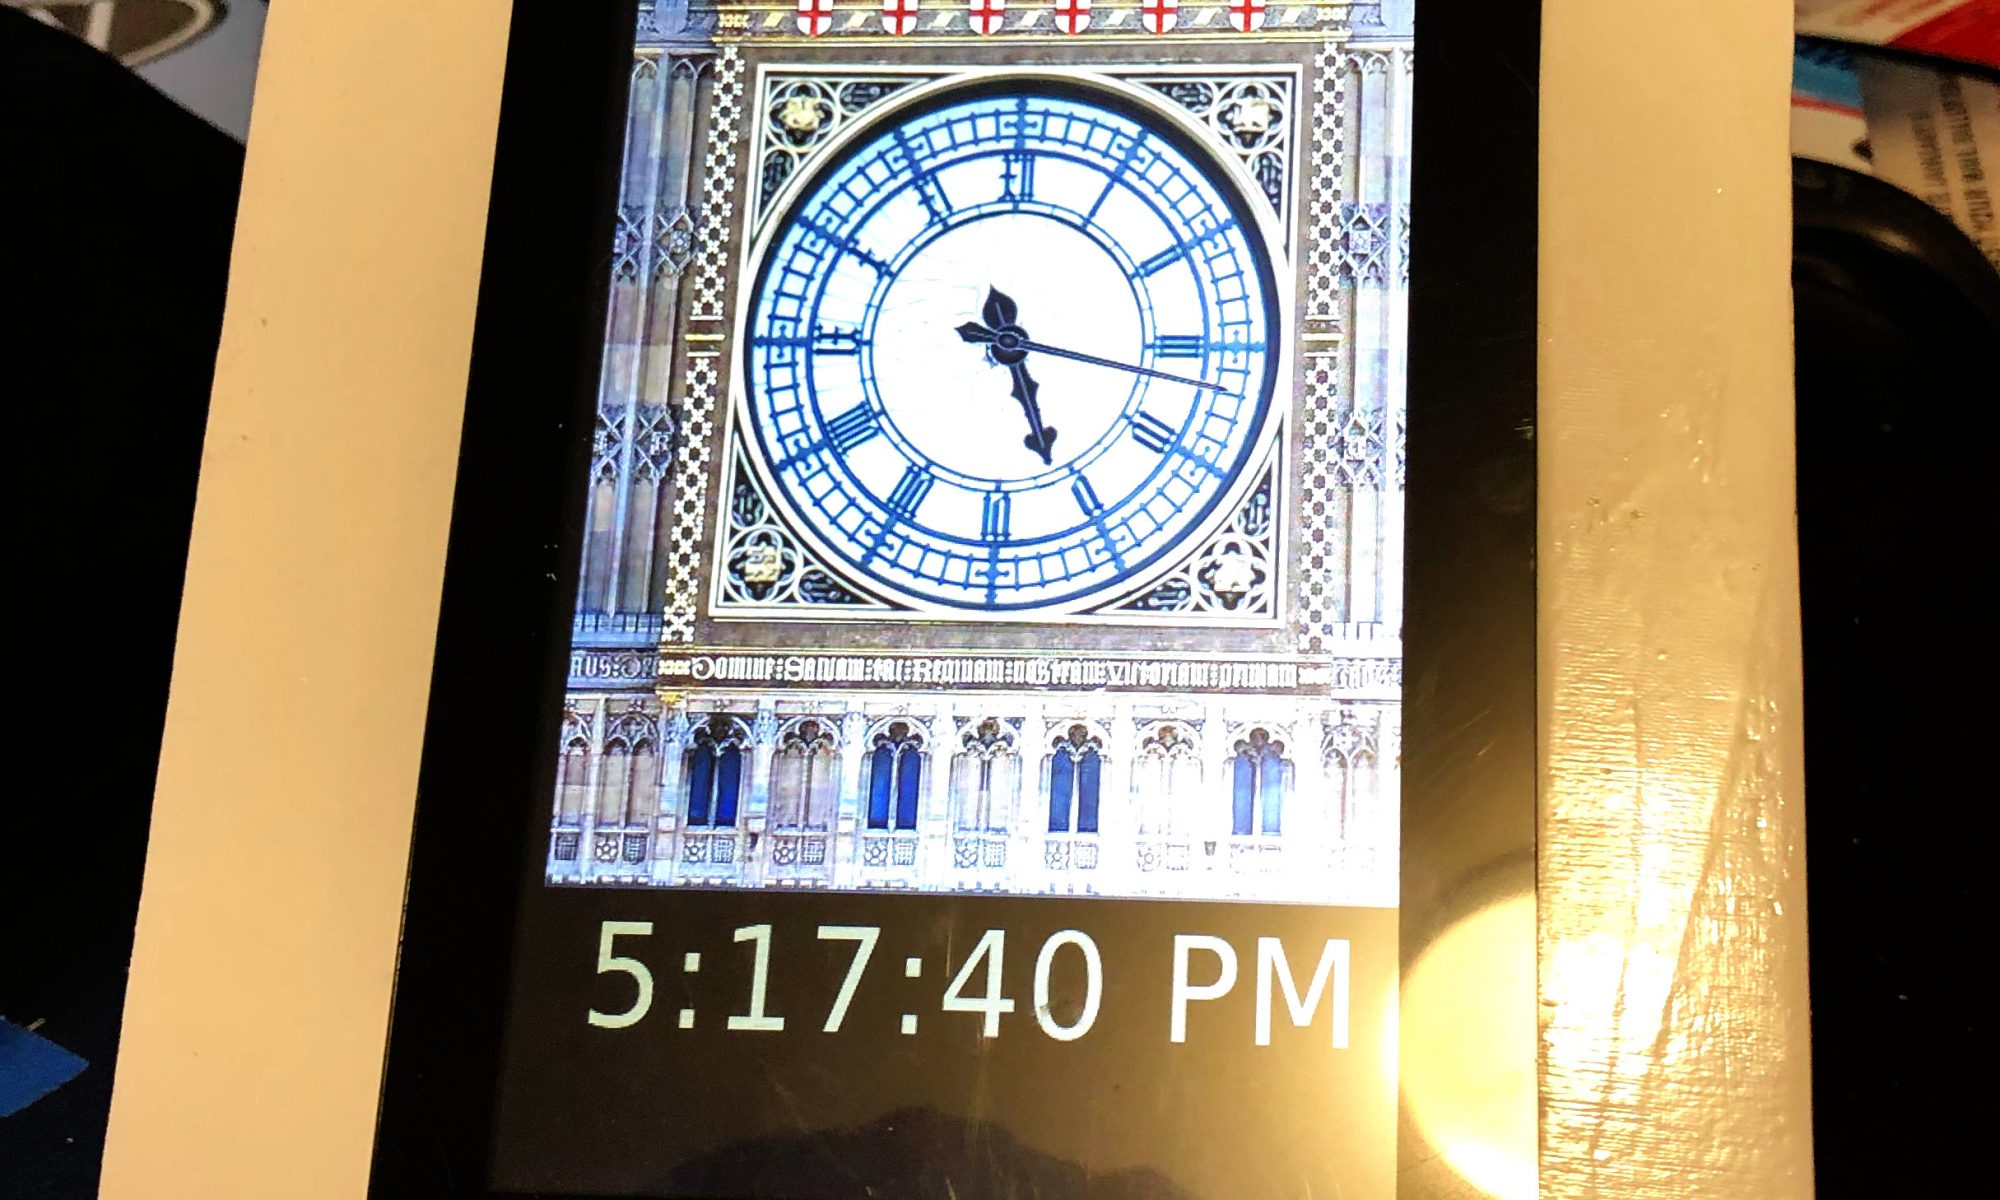
Last winter, early post retirement, I was tinkering around with one of my many clocks one day and added the chimes of Big Ben to it. Whenever I would visit my grandparents growing up, I would hear their clock that struck the Windsor Chimes and I always thought that would be a fun project.
This was fairly straightforward, I grabbed some sound files from the UK Parliament website and one other source for the 45 minute chime, and did a little editing. Work done implemented via CRON in a couple of hours, fast forward on to other things.
A few months later and I am on the phone with my mother and she hears the chimes in the background. She starts reminiscing about the sounds and her parents clock and I agree to make something for her.
This video documents the major elements of the build but here’s the parts list:
– Raspberry Pi Model 3 B with Raspberry Pi Touch Screen – I have had good luck with Canakit and Adafruit if you are looking for sources.
– Basic USB Powered Speakers
– Micro USB Power Cable with switch
– 16 GB SanDisk Class 10 Micro SD Card
– 1/4 inch Birch Veneer Plywood
– Gloss White Spray Paint
The Software Build
I had all the sound files to go on from my build into my exciting digital clock, so no additional work done there. One tricky bit was to get the hourly chime to trigger at about 59:40 after the hour so the big ben bell would start striking the hour right at the top of the minute. Since CRON works on minutes, I solved that by making a 59 second file. So the file starts at 59 after but plays a silent section for the first 40 seconds before the chime.
How the hourly Big Ben bell plays: CRON is programmed at xx:59 to trigger a shell script that first plays the chimes, this is the file mentioned above. It then triggers the Big Ben bell sound, and loops the appropriate number of times for each hour. Here’s an example of the code for 9 o’clock. There are 12 files, 1 for each hour.
#!/bin/bash
#export XDG_RUNTIME_DIR="/run/user/1000"
mplayer -really-quiet "/home/pi/chime/h59.mp3" -volume 100
mplayer -really-quiet "/home/pi/chime/bong.mp3" -loop 9 -volume 100
A couple of new skills for me were achieved on this project. The first was working with JavaScript clock elements for an analog clock. This came together by adding the face of the Great Clock as a background image, editing the photo for size and removing the hands from the face. I then found some similar looking clock hands and did a JavaScript analog clock overlay via HTML. Adjusting the pivot points for the hands took some time, they would drift around the clock face until set just right.
The other element to this was hardening it so it was hands off for mom. With her being 1,000 miles away, I couldn’t do a local install so it had to be right. I had her send me her WiFi info so I could pre-program it on the card. I chose USB powered speakers with an on-cord volume control so she could just lift the touch screen off the case to adjust. Also added a “kill switch” to the back for easy shut down. Finally I included a backup USB card in the case incase the current one is corrupted and I keep an image on my NAS as well if needed.
I did not put a RTC in the Pi. Partially because some of the GPIO ports I wanted we used by the Touch Screen and partly because I had the clock programmed to get NTP time via WiFi so there would be no updating needed.
The Hardware Build
I started with the standard elements I knew the Raspberry Pi 3B+. I chose the B+ because I didn’t need the horsepower of a Pi 4 for a basic display and I had one I had recently swapped out for a Pi 4 on another project. I used the 16 GB Class 10 MicroSD cards in all my Pi projects. They rarely corrupt for me when powered correctly, they offer enough space to power most projects I do, and the are small enough to back up on my NAS without completely killing storage.
I’ve used the Pi Touch Screen in a couple of other projects and it’s very easy to set up and control the display natively. In most cases I also use a commercial Pi Touch Screen stand however in this case I wanted to hide the electronics and let the clock be the focal point.
I tried to build a simple box that would hold the Pi, Screen and Speakers and I accomplished it, but I might do it differently in the future. I assembled the 4 structural elements first, the 2 sides, back and the bottom. Small birch strips held the front out from the back of the box to provide a little extra room.
On the first attempt, I made the face frame from a single piece of plywood cut in 2, so I could notch out the hole to mount the touch screen. I wasn’t really happy with the fit or the structural integrity of that, so I started with another single piece, made a small slat through which I could cut a hole for the screen with my band saw and then used putty to seal the small gap, which worked much better.
Several other holes in the box to allow for air flow, speaker audio to escape and power. I was going to put some grommets on the rough wooden holes I cut in the back but I had to give that up for time so I could get it to Mom by Christmas.
Great news is that it arrived on time and worked perfectly. We plugged it in about 10 minutes to one and by 12:59 it had synced up with the NTP server for a real time update and was playing it’s chimes.
Before it comes up…
I intentionally have not packaged this all up as a GitHub project or some other repository. I don’t own the rights to all the photos or sound files. Hopefully your build will use all the open source stuff!
Other questions on my build? Contact me on Social Media…
– Facebook: facebook.com/N4BFRVision
– Twitter: @N4BFRVision
– Reddit: u/N4BFR
I was not paid in any way for this build or post. Some of the links in this post lead to shopping sites, however I make no commission. If this post helped or inspired you, consider dropping something in my tip jar.


